 Save
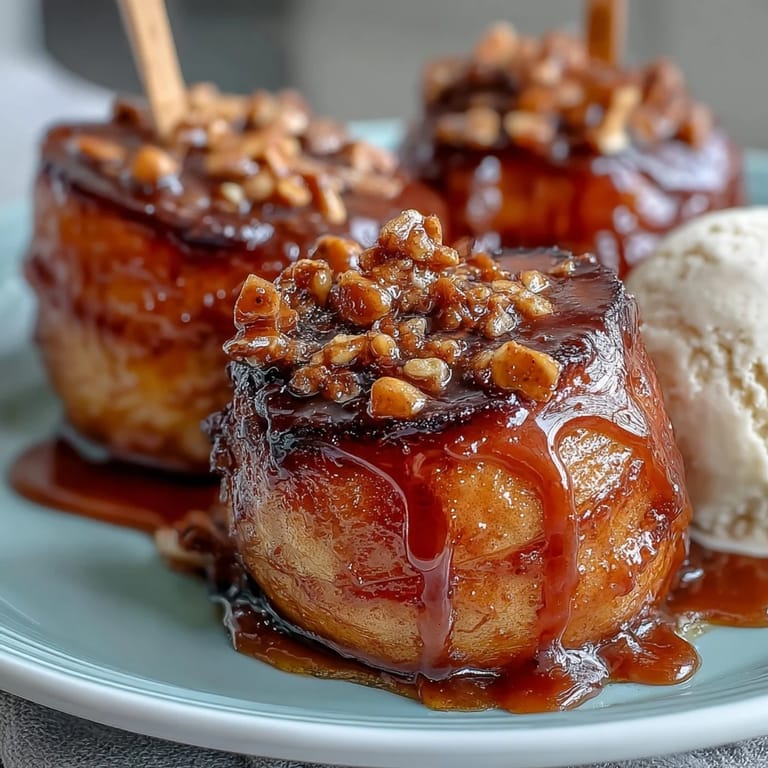
Save My sister texted me a photo of candy apples at some fancy fall festival, and I remember thinking—why am I paying twelve dollars for something I could make in my kitchen right now? That afternoon, I grabbed two apples from the crisper drawer and some caramels from the pantry, and honestly, what emerged from that thirty-minute experiment tasted even better than the overpriced version. The trick wasn't complicated, just warm caramel, crushed peanuts, and the kind of timing that comes from not overthinking it.
Last summer, I made these for a neighborhood barbecue on a whim, and three different people asked if I'd started a dessert business. One woman actually came back the next day with a small cooler asking if I could make two dozen for her daughter's birthday party. I had to laugh—I'd melted the caramels in a chipped saucepan at six in the morning, feeling half asleep, and somehow it turned into the thing people remembered most about that afternoon.
Ingredients
- Crisp apples (2 large, Granny Smith or Honeycrisp): The tartness cuts through the sweetness of the caramel, and you want apples firm enough that they won't collapse when you insert the stick—soft apples will turn mushy and fall apart.
- Soft caramels (1 cup unwrapped, about 24 pieces): Using actual caramel candies instead of caramel sauce gives you control over the consistency, and they melt smoothly when paired with cream.
- Heavy cream (2 tablespoons): This loosens the caramels just enough so you can dip without the coating being too thick or clumpy.
- Roasted salted peanuts (1/2 cup, finely crushed): Crushing them by hand in a zip-top bag gives you control—you want some texture variation, not peanut powder.
- Mini chocolate chips (1/4 cup, optional): These add a professional-looking finish and keep the slices interesting on the second day.
- Flaky sea salt (1/4 teaspoon, optional): Just a whisper on top transforms these from sweet to sophisticated.
- Wooden popsicle sticks (12): Push them in slowly so the apple doesn't splinter, and about halfway is enough—going too deep makes them awkward to hold.
- Parchment paper or nonstick spray: Parchment is cleaner and the caramel won't stick, which matters when you're trying to eat these without wrestling with the paper.
Tired of Takeout? 🥡
Get 10 meals you can make faster than delivery arrives. Seriously.
One email. No spam. Unsubscribe anytime.
Instructions
- Prep your workspace:
- Line your baking sheet with parchment paper or give it a light spray of nonstick coating—you're going to want to move quickly once the caramel is warm, so having everything ready prevents that moment of panic where hot caramel is sitting there waiting.
- Slice and dry the apples:
- Cut each apple into six thick slices, working around the core so you have clean rounds without seed cavities that'll trap caramel later. Pat them completely dry with paper towels because any moisture will make the caramel slip and slide instead of clinging.
- Insert the sticks:
- Push a wooden stick into the bottom of each slice, angling it so it goes about halfway through the flesh—this gives you something to hold without the stick coming out the other side. Work gently so the apple doesn't crack or splinter along the edges.
- Melt the caramel:
- Combine the unwrapped caramels and heavy cream in a small saucepan over low heat, stirring constantly until the mixture is completely smooth and glossy, about three to four minutes. The low heat is essential because high heat can cause the caramel to seize or burn, leaving you with grainy, unpleasant candy.
- Dip with confidence:
- Hold each apple slice by the stick and dip it into the warm caramel, letting the excess drip back into the pan for a few seconds. If the caramel isn't coating the sides evenly, use a spoon to nudge it around, but don't oversaturate—the goal is a thin, elegant coating, not a caramel helmet.
- Add the crunch:
- While the caramel is still tacky and warm, sprinkle the crushed peanuts over the top, or dip the whole thing into a shallow bowl of peanuts for even coverage. If you're using chocolate chips or sea salt, this is the moment—they'll stick to the still-warm caramel but won't sink in if you work quickly.
- Chill and set:
- Place the finished slices on your prepared baking sheet and slide the whole thing into the refrigerator for at least ten minutes so the caramel firms up. This sets everything in place and prevents the peanuts from sliding off when people pick them up.
 Save
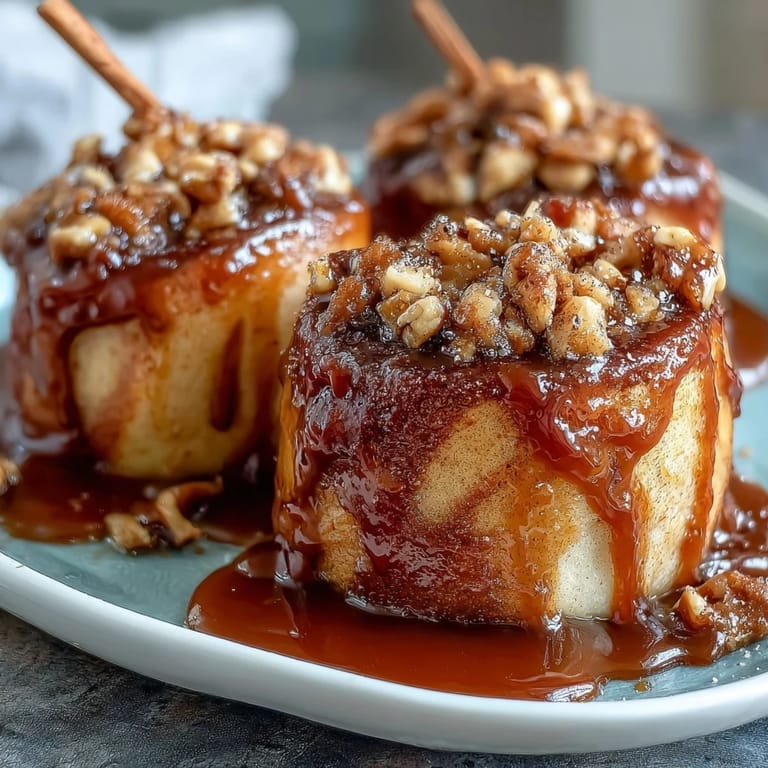
Save There's something almost meditative about this process—the smell of warm caramel filling your kitchen, the satisfying crunch when you bite through the peanut layer into that tart apple. A friend once told me that her kids requested these for their school snack exchange instead of store-bought treats, which felt like a quiet victory.
Choosing Your Apple Variety
Granny Smith apples are the standard for good reason—their tartness balances the caramel's sweetness, and their firm flesh won't crumble when you insert the stick. Honeycrisp apples give you a sweeter, juicier bite if you prefer less tartness, though they're slightly softer and require a gentler hand during assembly. Mixing two different varieties creates an interesting contrast if you want to offer guests a choice on the same platter.
Topping Variations Beyond Peanuts
If someone at your table has a peanut allergy, crushed pretzels create the same satisfying crunch and add a subtle salty-sweet play that works beautifully. Crushed cookies—think Oreos or vanilla wafers—give you a more indulgent, almost dessert-like quality. Sprinkles, chopped candy, or even crushed graham crackers all work depending on the vibe you're going for, and honestly, half the fun is watching people experiment with different toppings.
Storage and Make-Ahead Strategy
These taste best served the same day you make them, while the peanuts are still crisp and the apple is fresh, but they'll hold in the refrigerator for up to twenty-four hours if needed. Store them in an airtight container with parchment between the layers so they don't stick together, and let them come to room temperature for about five minutes before serving—the caramel becomes easier to bite through. If you're making these for a party, assemble them in the morning and refrigerate until just before guests arrive.
- Keep unused caramels in a cool, dry place so you always have them on hand for impromptu sweet cravings.
- If you're nervous about the sticks holding up, test one apple slice first before committing to all twelve.
- This recipe scales easily—double or triple everything if you're feeding a crowd, and the caramel-to-cream ratio stays consistent.
 Save
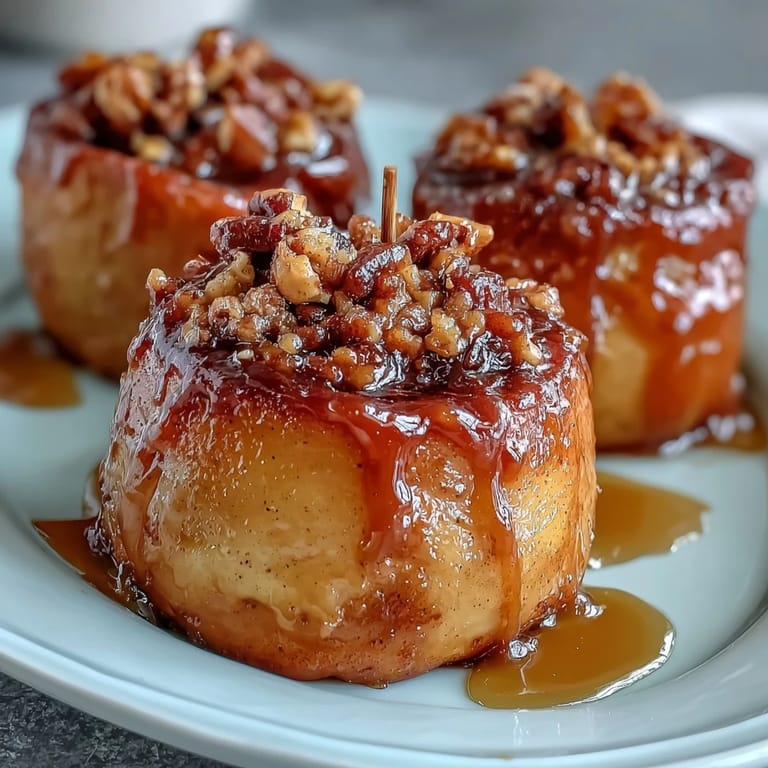
Save These candy apple slices turn an ordinary afternoon into something that feels a little bit special, whether you're making them for a crowd or just because Wednesday needs a little sweetness. They're the kind of simple thing that reminds you why homemade always wins.
Recipe FAQ
- → What type of apples work best?
Firm and tart apples like Granny Smith or Honeycrisp hold their shape well and complement the sweetness of the caramel.
- → Can I use other toppings besides peanuts?
Yes, alternatives like crushed pretzels, mini chocolate chips, or sprinkles can add different textures and flavors.
- → How do I prevent the caramel from hardening too quickly?
Melt the caramel with heavy cream over low heat and work quickly to dip the apple slices before the caramel cools.
- → Is refrigeration necessary after coating?
Refrigerating for at least 10 minutes helps the caramel set firmly and keeps the slices fresh and crunchy.
- → Are wooden sticks required?
Wooden popsicle or lollipop sticks provide a convenient handle and make dipping and eating easier.