 Save
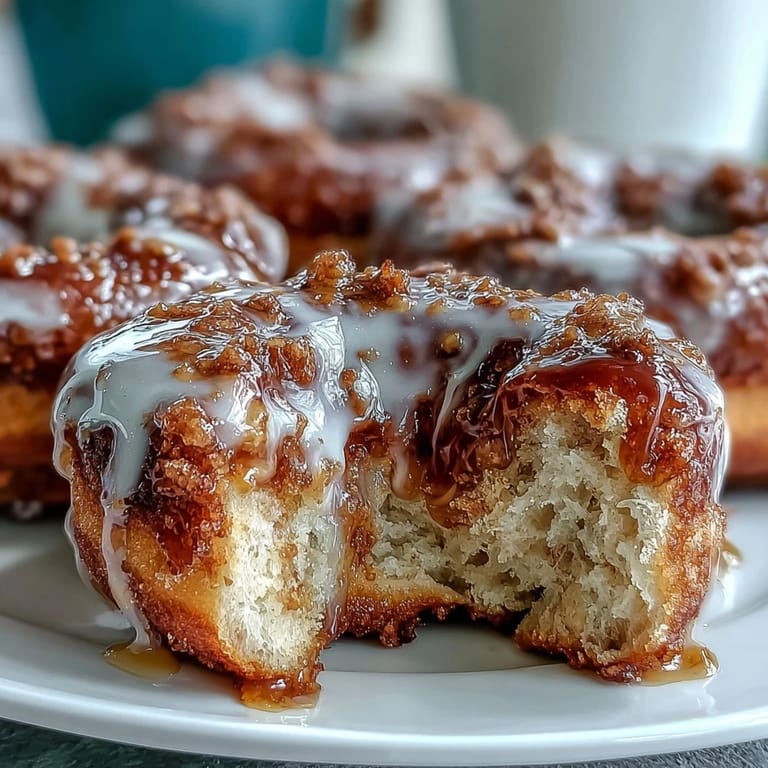
Save My kitchen smelled like a maple syrup factory the afternoon I first attempted these bars, and honestly, I wasn't sure if that was a good thing or a disaster waiting to happen. A friend had mentioned craving donut-inspired treats that didn't require deep frying, and something about that challenge stuck with me. I grabbed what I had on hand—butter, eggs, milk, and yes, more maple syrup than probably necessary—and decided to experiment. What emerged from the oven was nothing short of magic: tender, fluffy bars that tasted like breakfast and dessert had made peace with each other.
I made a double batch one Saturday morning when unexpected guests arrived, and instead of panicking, I just slid two pans into the oven. By the time they walked in, the entire house smelled like maple and cinnamon, and somehow that warm, welcoming aroma did more for hospitality than any carefully planned menu ever could. My neighbor actually asked for the recipe right there at the kitchen counter, coffee mug in hand, before she'd even tried a bite.
Ingredients
- All-purpose flour: Two cups gives structure without being heavy—use it straight from the bag without sifting, which keeps these bars tender and almost cloud-like.
- Granulated sugar: One cup sweetens the base, but the maple syrup does the real flavor lifting, so don't be tempted to add extra sugar.
- Baking powder: A full tablespoon is the secret to that fluffy, risen texture that makes people think you spent hours on these.
- Salt, cinnamon, and nutmeg: These spices wake up the maple and add warmth without screaming pumpkin spice—use the full amounts because they're measured for balance.
- Unsalted butter: Melting it first means it incorporates faster and more evenly throughout the batter.
- Whole milk: This keeps everything tender; skim milk works if that's what you have, but whole milk really does make a noticeable difference.
- Eggs: Two large ones bind everything together while adding richness that you'll taste in every bite.
- Vanilla extract: One teaspoon rounds out the flavors without competing with the maple.
- Maple syrup: Half a cup goes into the batter, then another two tablespoons into the glaze—use real maple syrup here because the imitation stuff just tastes thin and one-dimensional.
- Powdered sugar and milk for glaze: This creates that silky, just-thick-enough coating that drips slightly and catches on your fork in the best way.
Tired of Takeout? 🥡
Get 10 meals you can make faster than delivery arrives. Seriously.
One email. No spam. Unsubscribe anytime.
Instructions
- Set your oven and prep:
- Preheat to 350°F and get your 9 by 13 inch pan ready with parchment paper or a light coating of cooking spray. This gives you a clean canvas to work with and makes removal nearly foolproof.
- Combine the dry ingredients:
- Whisk together flour, sugar, baking powder, salt, cinnamon, and nutmeg in a large bowl until everything looks evenly distributed. You're basically mixing air and spices into the flour at this stage, which helps the batter rise beautifully.
- Mix the wet ingredients separately:
- In another bowl, whisk together melted butter, milk, eggs, vanilla, and maple syrup until the mixture is smooth and homogeneous. Take your time here—you want the eggs fully incorporated so you don't end up with pockets of egg white in the final bars.
- Bring wet and dry together:
- Pour the wet mixture into the dry ingredients and fold gently with a spatula until just combined—this is the moment where restraint matters. Overmixing activates gluten and toughens the bars, so stop as soon as you don't see white streaks of flour anymore.
- Spread and bake:
- Pour the batter into your prepared pan and smooth it into an even layer, then slide it into the 350°F oven for 25 to 30 minutes. You'll know they're done when a toothpick poked into the center comes out clean and the edges have turned a light golden brown.
- Cool strategically:
- Let the bars sit in the pan for 10 minutes—this sets them just enough to handle—then transfer them to a wire rack to cool completely. Rushing this step means the glaze slides right off, so patience really does pay here.
- Make the glaze:
- Whisk powdered sugar with one tablespoon of milk until smooth, then stir in maple syrup and add more milk as needed until you reach a consistency that's thick but pourable. It should look glossy and coat a spoon without immediately running off.
- Glaze and set:
- Once the bars are completely cool, drizzle the glaze evenly across the top in a thin, even layer. Let it set for 10 to 15 minutes so it firms up slightly before you cut and serve.
 Save
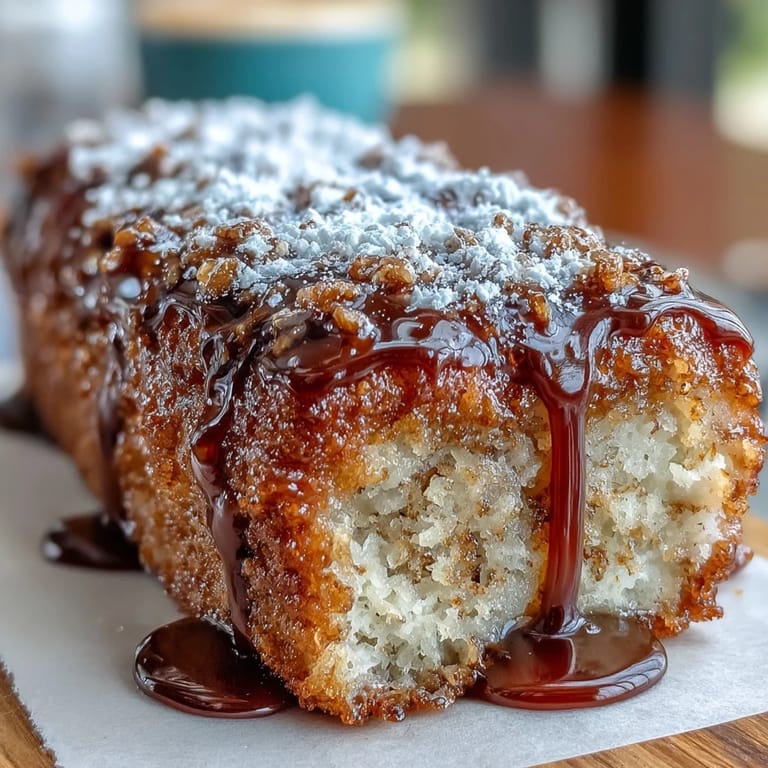
Save There's a particular joy in watching someone take their first bite of these bars and realize they're getting both comfort and elegance in the same mouthful. I've learned that the simple things, made with attention and real ingredients, often become the ones people actually remember.
Storage and Make-Ahead Wisdom
These bars live happily in an airtight container at room temperature for up to three days, though honestly, they rarely last that long in my house. You can also bake them a day ahead and glaze them in the morning, which means you get the benefit of freshly made bars without the early wake-up stress. If you're planning to freeze them, do it before glazing—wrap them tightly and they'll keep for up to a month.
Flavor Variations Worth Trying
The base recipe is forgiving enough to play with, and I've found myself tweaking it based on what sounds good or what I have on hand. A few drops of maple extract in the glaze intensifies the flavor dramatically, while a pinch of cardamom in the dry ingredients adds an unexpected sophistication. Some mornings I've added chopped pecans or walnuts to the batter, though this changes the texture slightly and requires a few extra minutes of baking time.
Serving Suggestions and Occasions
These bars shine in the quiet moments—a weekend breakfast, a lunchbox surprise, an afternoon pick-me-up with coffee—but they're also elegant enough for brunch entertaining or a simple dessert finale. Warm bars topped with a dollop of whipped cream or vanilla ice cream feel surprisingly indulgent, while room-temperature bars are perfect for eating straight from the hand while standing in the kitchen. They pair beautifully with strong coffee, maple tea, or even a glass of cold milk if you're feeling nostalgic.
- Serve them while still slightly warm for the most luxurious melt-in-your-mouth texture.
- A sprinkle of fleur de sel on top of wet glaze adds an elegant contrast that people always notice.
- Cut into smaller pieces for a more refined presentation, or leave them chunky and rustic depending on the occasion.
 Save
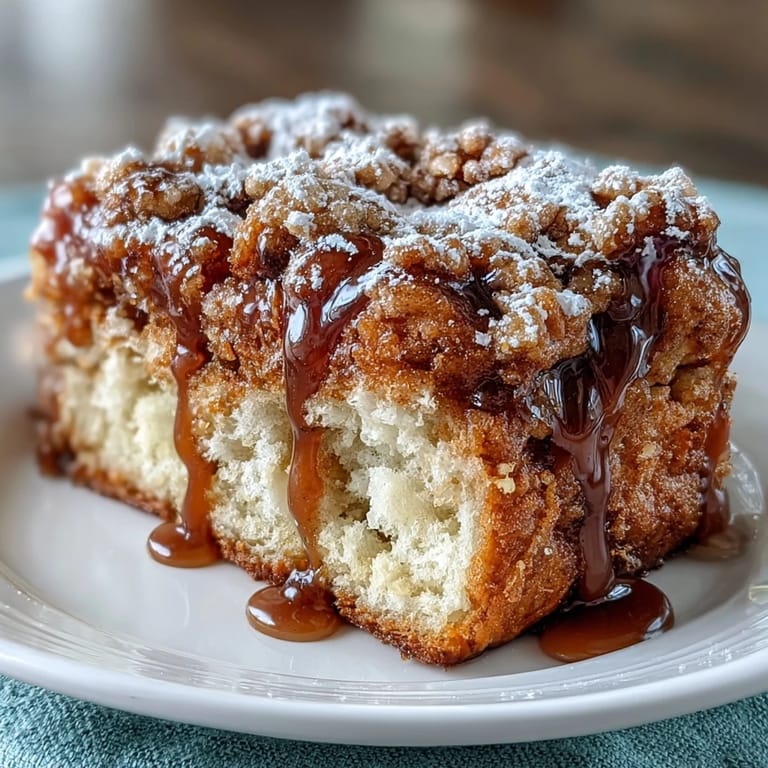
Save These maple donut bars have become my answer to the question of what to bring somewhere, what to make for myself, and how to fill my kitchen with the kind of smell that makes people smile. They're proof that the most beloved recipes are rarely complicated—they're just made with intention and served with generosity.
Recipe FAQ
- → What makes these bars fluffy?
Using baking powder and folding the wet and dry ingredients gently helps maintain a light, airy texture typical of soft baked goods.
- → How is the maple glaze made?
The glaze blends powdered sugar, maple syrup, and milk to create a smooth, pourable topping that sets nicely on cooled bars.
- → Can I prepare the bars ahead of time?
Yes, these bars keep well for up to 3 days at room temperature when stored airtight, making them convenient for gatherings.
- → Are there variations to boost maple flavor?
Adding a few drops of maple extract to the glaze can enhance the rich maple aroma and taste.
- → What serving suggestions work best?
Serve warm or at room temperature, optionally topped with whipped cream or vanilla ice cream for extra richness.