 Save
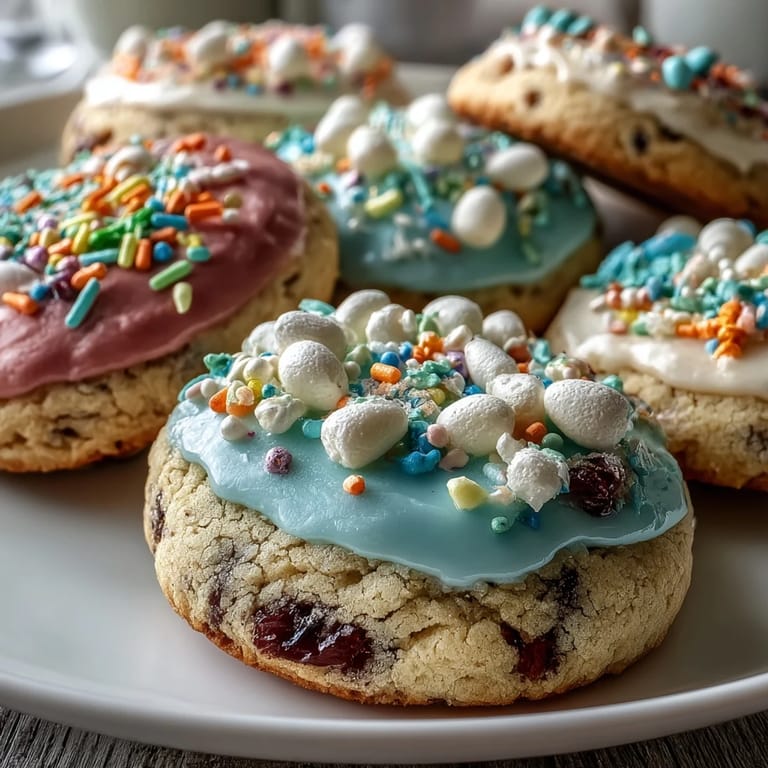
Save My sister called me in a panic the week before Easter, asking if I could bring cookies to her gathering. I had maybe an hour before guests arrived, so I dusted off my grandmother's sugar cookie recipe and started mixing. What began as a rushed favor turned into something magical—the buttery dough came together smoothly, and by the time I'd piped pastel royal icing onto bunny and egg shapes, I realized these weren't just cookies. They were edible spring.
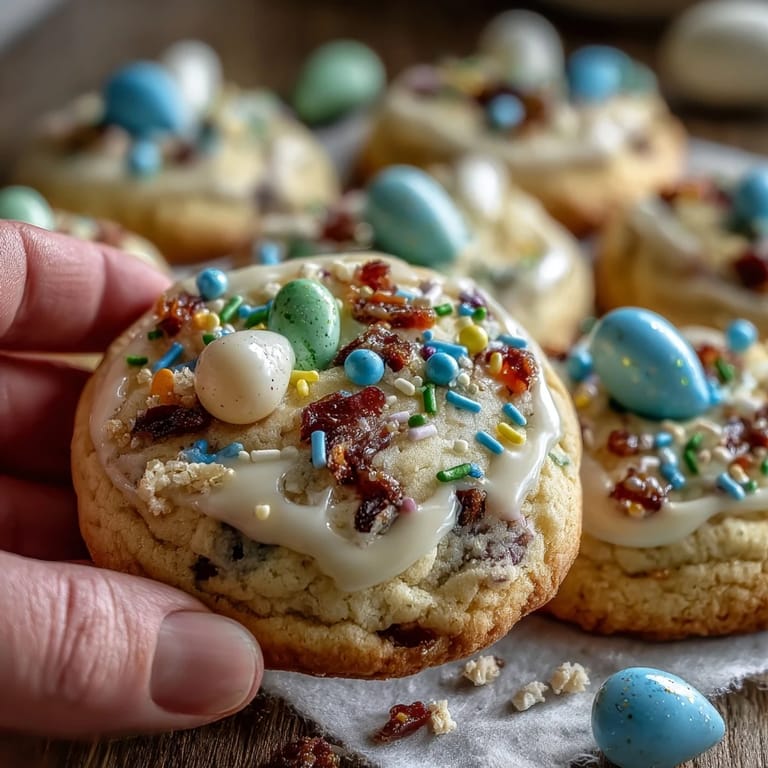
Last April, my neighbor actually cried when I handed her a box of these cookies. Not because they were perfect—some had slightly wobbly icing lines—but because her daughter had been too sick to make Easter treats that year, and these reminded them both that spring was still happening. That's when I understood these aren't really about the occasion; they're about showing up with something handmade.
Ingredients
- All-purpose flour (2 1/2 cups): This is the backbone of tender cookies, so don't skip sifting or fluff it in the bag before measuring.
- Baking powder (1/2 teaspoon): Just enough to give the cookies a gentle lift without making them cake-like.
- Salt (1/4 teaspoon): Balances sweetness and brings out the vanilla flavor in ways you won't consciously notice but absolutely will if it's missing.
- Unsalted butter (3/4 cup), softened: Room temperature butter creams properly with sugar; cold butter will fight you every step of the way.
- Granulated sugar (1 cup): The sweetness and texture keeper—don't substitute with brown sugar here.
- Large egg: Binds everything together and adds richness that keeps the cookies from tasting dry.
- Pure vanilla extract (2 teaspoons): Use the real thing; imitation will taste thin and chemical by comparison.
- Milk (1 tablespoon): A small amount that makes the dough workable without being sticky.
- Powdered sugar (3 cups), sifted: For icing that's smooth and paintable; lumps will clog your piping bag.
- Meringue powder (2 tablespoons): The secret ingredient that makes royal icing set hard and glossy.
- Warm water (5–6 tablespoons): Start with less and add gradually; icing consistency matters.
- Pastel gel food coloring: Gel colors are more concentrated than liquid, so a tiny dab goes a long way and won't thin your icing.
Tired of Takeout? 🥡
Get 10 meals you can make faster than delivery arrives. Seriously.
One email. No spam. Unsubscribe anytime.
Instructions
- Gather and measure your dry ingredients:
- Whisk together flour, baking powder, and salt in a medium bowl. This distributes the leavening evenly so you won't bite into a pocket of baking powder taste.
- Cream butter and sugar until fluffy:
- Beat them together for 2–3 minutes until the mixture is pale yellow and airy. You're literally whipping air into the butter, which helps the cookies stay tender.
- Add egg and vanilla:
- Mix until everything is smooth and combined. The batter might look slightly curdled at first, but keep going.
- Fold in dry ingredients gently:
- Use low speed so you don't overdevelop the gluten, then add milk and mix just until the dough comes together. Overworking makes tough cookies.
- Rest the dough:
- Divide dough into two discs, wrap in plastic, and refrigerate for at least an hour. This prevents spreading and makes the dough much easier to roll.
- Preheat and prepare:
- Set your oven to 350°F and line baking sheets with parchment paper while the dough chills.
- Roll and cut:
- On a lightly floured surface, roll dough to 1/4 inch thick—any thinner and they'll bake too fast and crack. Cut into Easter shapes and place them 1 inch apart.
- Bake until golden:
- Bake for 8–10 minutes until the edges just start turning golden but the centers still look slightly soft. This is the difference between tender cookies and hard ones.
- Cool properly:
- Leave cookies on the sheet for 5 minutes so they firm up slightly, then move them to wire racks to cool completely. Hot cookies will crumble when you decorate them.
- Whip the royal icing:
- Combine sifted powdered sugar and meringue powder, add water gradually, and beat on low until smooth, then high for 3–4 minutes until stiff peaks form. The icing should look like fluffy clouds.
- Tint your icing:
- Divide icing among bowls and add just a tiny dab of gel color to each, mixing gently. The colors should be soft and pastel, not bright.
- Decorate with intention:
- Transfer icing to piping bags and decorate however you like—outlines, flooding, dots, everything works. Let the icing set completely before stacking or storing.
 Save
Save My daughter once decorated an entire batch by herself, mixing up the pastel colors and creating these wild abstract designs I would never have thought of. When I stepped back and looked at them, I realized the imperfection was exactly the point—these cookies were proof that someone had cared enough to sit down and make something with their own hands.
The Secret to Tender Cookies
The temptation is always to bake just a little longer, thinking undercooked means doughy. But sugar cookies should look barely done when they come out of the oven—that slight softness in the center is what makes them melt on your tongue later. The carry-over heat continues baking them on the sheet, so patience at this step is everything. I learned this the hard way after overbaking three batches in a row, thinking something was wrong with my oven.
Working with Royal Icing
Royal icing intimidated me for years until someone explained it's just three ingredients with one job: look beautiful and then harden. The meringue powder is what makes it set completely, unlike buttercream, which stays soft. If you want to flood large areas with color, thin a small portion of icing with just a drop or two of water and use a toothpick to guide it into the spaces. The stiff icing creates an outline that holds everything in place like a dam.
Make It Yours
These cookies are a canvas, so feel free to experiment. I've added a half teaspoon of almond extract to the dough for a subtle nuttiness, and I've seen others use lemon zest for brightness. The icing can be tinted any color you want—pastels are just what worked for Easter, but Christmas red, birthday rainbow, or even metallic gold dust (food-safe only) all make sense. The real magic is that once you understand the technique, you can adapt it to any celebration.
- Add lemon zest to the dough for a subtle citrus note without changing the texture.
- Let decorated cookies sit overnight so the icing completely hardens before stacking them for gifting.
- Store in an airtight container with parchment between layers to prevent smudging.
 Save
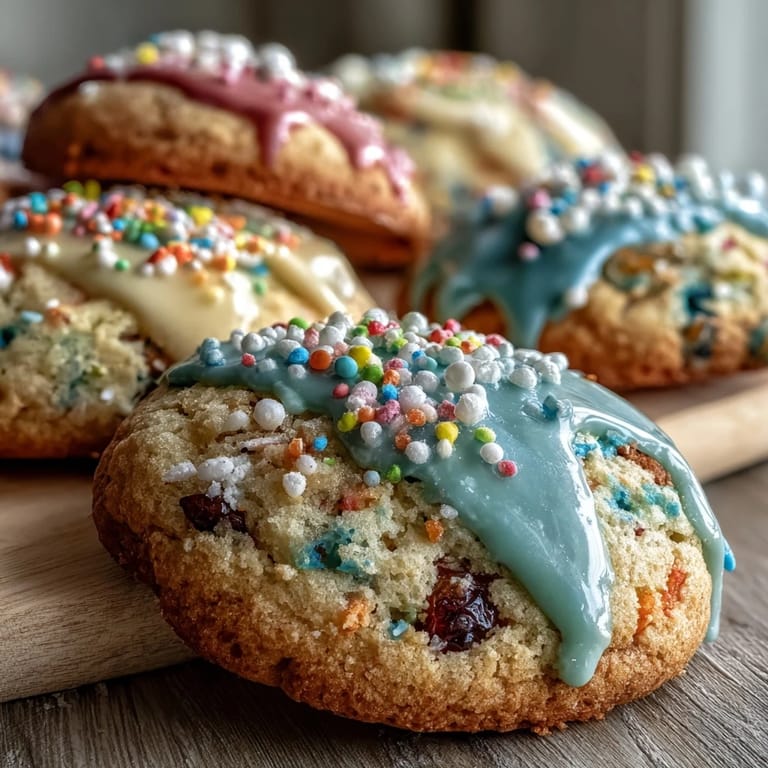
Save Every time I make these cookies, someone tells me they taste like spring tastes, which doesn't quite make sense until you've bitten into one. These are the cookies that turn ordinary afternoons into celebrations.
Recipe FAQ
- → How can I make my cookies softer?
To keep cookies soft, avoid over-baking and remove them from the oven as soon as the edges start to turn golden.
- → What is the best way to achieve pastel colors in icing?
Use gel food coloring sparingly to mix soft pastel shades, adjusting slowly until the desired lightness is reached.
- → How do I prevent royal icing from cracking?
Ensure the icing has stiff peaks and allow it to dry completely at room temperature without disturbance for a smooth finish.
- → Can I add flavor variations to the icing?
Yes, add a drop of lemon or almond extract to the icing for subtle, complementary flavor notes.
- → How long can decorated cookies be stored?
Store iced cookies in an airtight container at room temperature for up to one week to maintain freshness and texture.