 Save
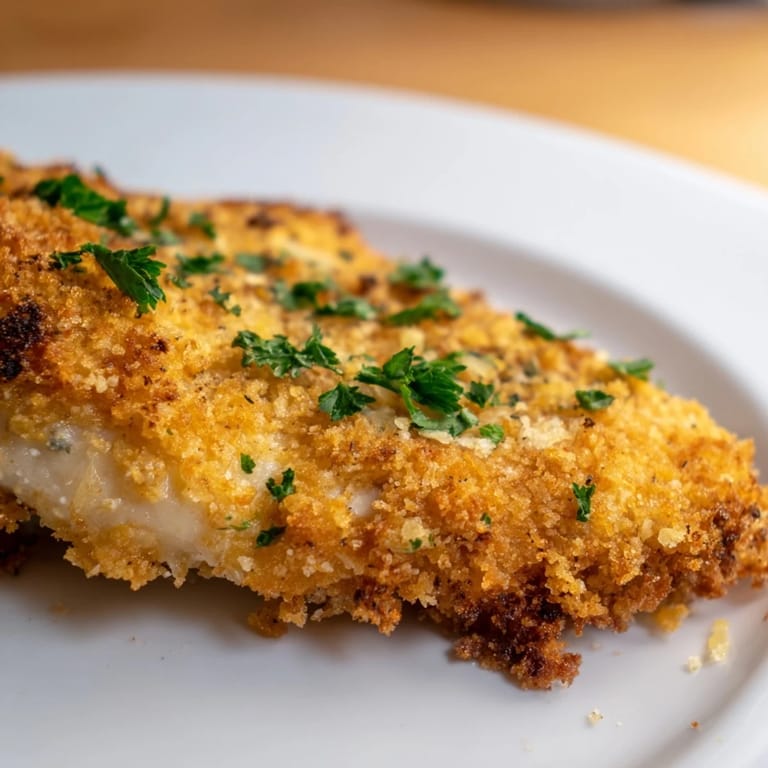
Save A Tuesday evening rush taught me that impressive dinners don't require culinary acrobatics. I had twenty minutes before everyone arrived, a pack of chicken breasts, and a hunch that garlic, butter, and Parmesan could save the night. The oven did most of the work while I set the table, and when that golden crust emerged, crackling and fragrant, I realized I'd stumbled onto something worth keeping. No one guessed it was born from panic.
I made this for my neighbor after her surgery, doubling the batch so she could freeze half. She texted me three days later asking for the recipe, which felt better than any five star review. There's something about food that travels well, reheats without complaint, and still tastes like care that makes it invaluable. I've been making extra ever since, keeping a portion in the freezer for nights when cooking feels impossible.
Ingredients
- Boneless, skinless chicken breasts (4, about 170 g each): Pat them completely dry before seasoning or the coating won't stick properly, a lesson I learned when half my crust slid off onto the pan.
- Salt and freshly ground black pepper: Season generously on both sides; this is your foundational flavor and the only chance to season the meat itself.
- Unsalted butter (60 g, melted): Melted butter acts as the glue for your crust and carries garlic flavor into every bite, so don't skimp.
- Garlic (4 cloves, minced): Fresh garlic makes all the difference here; the jarred stuff just doesn't have the same punch or aroma when it hits the heat.
- Grated Parmesan cheese (60 g): Use the real stuff, not the shelf stable kind, for a crust that crisps beautifully and tastes genuinely cheesy.
- Fine breadcrumbs (60 g): Panko works too if you want extra crunch, but fine crumbs create a more elegant, cohesive crust.
- Dried Italian herbs (1 tsp): A blend of oregano, basil, and thyme adds complexity without requiring a spice cabinet overhaul.
- Paprika (½ tsp): This adds a subtle warmth and helps the crust achieve that gorgeous golden color.
- Fresh parsley (2 tbsp, chopped): A handful of green at the end makes the dish look alive and adds a fresh contrast to all that richness.
Tired of Takeout? 🥡
Get 10 meals you can make faster than delivery arrives. Seriously.
One email. No spam. Unsubscribe anytime.
Instructions
- Prep the Oven and Pan:
- Preheat your oven to 200°C (400°F) and line a baking sheet with parchment paper. This temperature gives you a crisp exterior without drying out the chicken, and parchment makes cleanup a breeze.
- Season the Chicken:
- Pat the chicken breasts thoroughly dry with paper towels, then season both sides with salt and pepper. Moisture is the enemy of crispy coatings, so take an extra moment here.
- Make the Garlic Butter:
- In a small bowl, stir together the melted butter and minced garlic until fragrant. The smell alone will make you hungry.
- Prepare the Coating:
- In a shallow dish, combine the Parmesan, breadcrumbs, Italian herbs, and paprika, mixing until evenly distributed. This is your magic dust.
- Coat the Chicken:
- Dip each chicken breast into the garlic butter, turning to coat all sides, then press it into the Parmesan breadcrumb mixture, patting gently so it sticks. Don't be shy; a thick, even crust is what you're after.
- Arrange and Drizzle:
- Place the coated chicken breasts on your prepared baking sheet, spacing them so they're not touching. Drizzle any leftover garlic butter over the tops for extra richness and browning.
- Bake Until Golden:
- Slide the pan into the oven and bake for 25 to 30 minutes, until the crust is golden and crisp and the internal temperature reads 74°C (165°F). If you want extra crunch, switch to broil for the last 2 minutes, but watch it like a hawk.
- Rest and Serve:
- Let the chicken rest on the pan for 5 minutes so the juices redistribute. Scatter fresh parsley over the top if you have it, and serve hot.
 Save
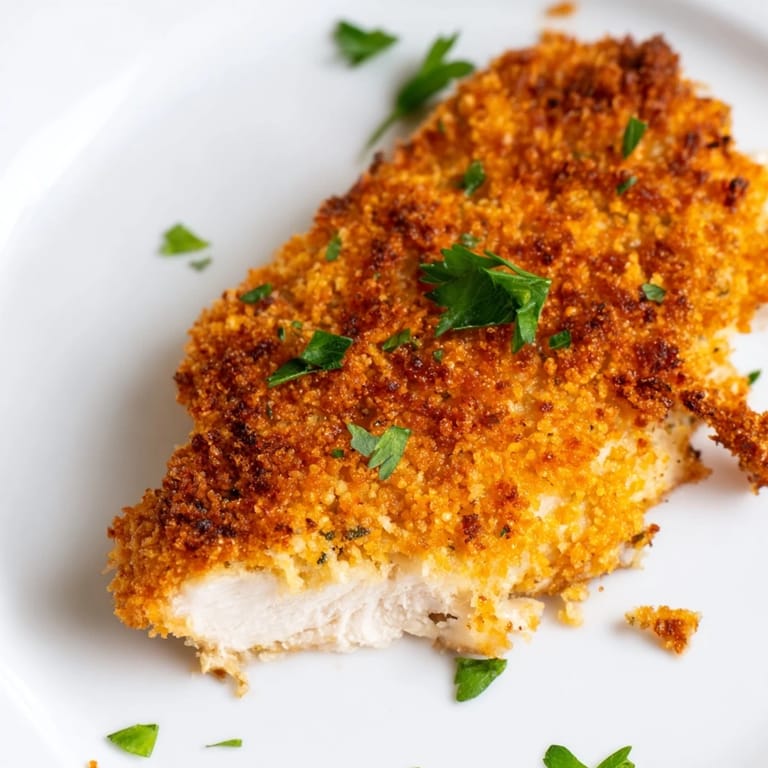
Save The first time my kids asked for seconds unprompted, this was the dish on the table. They didn't know about the garlic or the Parmesan, just that the chicken was crispy and didn't taste like homework. I've made it at least once a month since then, and it's become our unofficial midweek reset, the meal that reminds us dinner doesn't have to be complicated to feel good.
Making It Your Own
Once you've nailed the basic recipe, it's easy to riff on it. I've added a pinch of chili flakes to the breadcrumb mixture when I wanted a little heat, and I've swapped in chicken thighs when I needed something more forgiving and juicy. You can also toss in lemon zest with the Parmesan for a brighter, more citrusy crust, or use smoked paprika instead of regular for a subtle smokiness. The technique stays the same, but the flavors can shift to match your mood or what's in the pantry.
What to Serve Alongside
This chicken is rich and savory, so it pairs beautifully with something fresh and light. I usually serve it with a simple green salad dressed in lemon vinaigrette, or roasted vegetables like broccoli, green beans, or asparagus tossed in olive oil and sea salt. Creamy mashed potatoes or buttery rice pilaf work too if you want something more comforting. The key is balance, letting the chicken be the star without overwhelming the plate.
Storing and Reheating
Leftovers keep well in an airtight container in the fridge for up to three days. To reheat without losing the crispy crust, I warm the chicken in a 180°C (350°F) oven for about 10 minutes rather than using the microwave, which turns everything rubbery. You can also freeze the baked chicken for up to two months; just thaw it overnight in the fridge and reheat gently in the oven.
- Slice leftover chicken and toss it into a Caesar salad for an easy next day lunch.
- Reheat in a skillet over medium heat if you're in a hurry, flipping once to keep both sides crisp.
- Don't stack the chicken when storing or the crust will steam and soften.
 Save
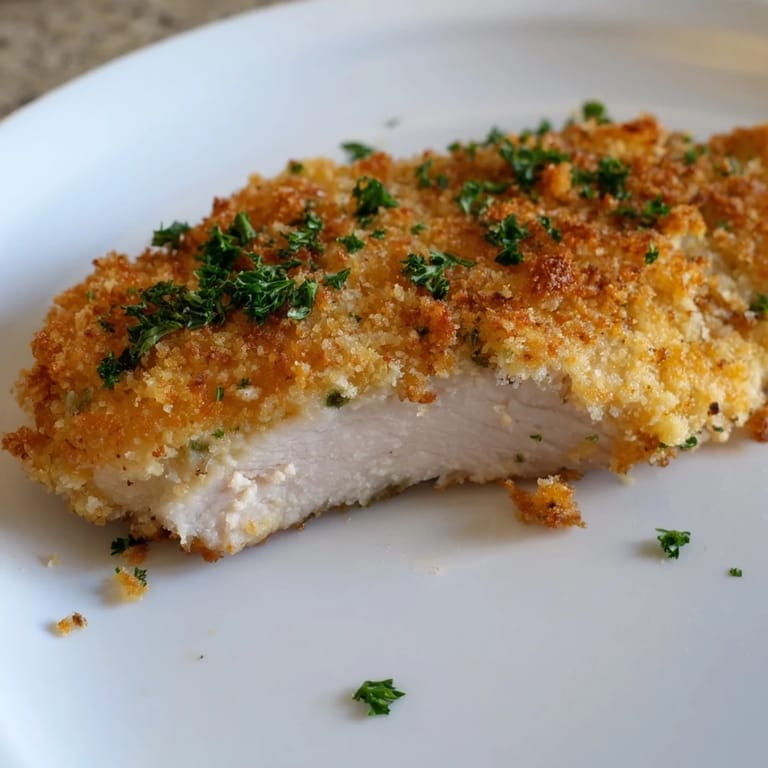
Save This recipe has become one of those quiet workhorses in my kitchen, the kind I turn to when I need something reliable that still feels like a treat. I hope it does the same for you.
Recipe FAQ
- → How do I keep the chicken moist while baking?
Pat the chicken breasts dry before seasoning to help them cook evenly. Don't overbake—use a meat thermometer to ensure they reach 74°C (165°F) internally. Letting them rest for 5 minutes after baking helps retain juices.
- → Can I make this ahead of time?
Yes, you can coat the chicken and refrigerate it for up to 4 hours before baking. Add 5-10 minutes to the baking time if cooking from cold. For best crispiness, bake just before serving.
- → What's the best way to get a crispy coating?
Press the breadcrumb mixture gently onto the coated chicken to help it adhere. For extra crispiness, broil for the last 2-3 minutes after baking. Use fine breadcrumbs and ensure the garlic butter is evenly distributed.
- → How can I adapt this for dietary restrictions?
Use gluten-free breadcrumbs for a gluten-free version. For dairy-free, substitute the Parmesan with nutritional yeast and use dairy-free butter. Adjust herbs and seasonings as needed for other dietary preferences.
- → What side dishes pair well with this?
Fresh green salads, roasted vegetables like broccoli or Brussels sprouts, creamy mashed potatoes, or garlic herb rice are excellent pairings. A light lemon butter sauce can also complement the savory garlic and Parmesan flavors.
- → Can I use chicken thighs instead of breasts?
Absolutely. Chicken thighs will be juicier and may take slightly longer to cook, around 30-35 minutes depending on thickness. They're more forgiving and won't dry out as easily as breasts.