 Save
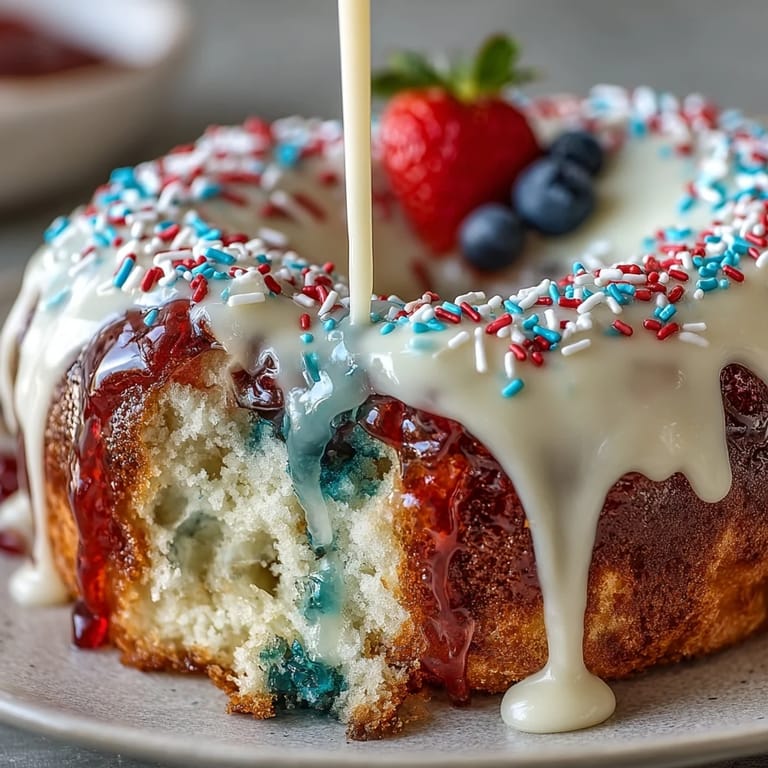
Save It was the sound of sparklers fizzing outside and the scent of just-baked cake drifting from my kitchen that made this Patriotic Poke Cake an unexpected star one summer evening. There’s something about the combination of red and blue stripes peeking through tender cake and glossy white chocolate ganache that signals a celebration’s about to begin. When I first attempted this showstopper, I had no idea how mesmerizing those colorful, fruity streaks would look when sliced. I found myself grinning as each piece revealed its own patriotic pattern. Baking it felt like a small, friendly rebellion against plain old sheet cake.
One July afternoon, I baked this for a backyard potluck and a sudden drizzle forced us all inside. We crowded around the kitchen island, eating cake off mismatched plates while the rain pattered on the windows. I’ll never forget the collective "oooh" when someone cut that first colorful square. Strangely enough, the storm only made it feel more festive.
Ingredients
- White cake mix: Choose a trusted brand and use the freshest eggs and oil you have—my tip: don’t overmix for the fluffiest base.
- Strawberry or cherry flavored gelatin: This brings a sweet, tangy red stripe; carefully dissolve to avoid uneven patches.
- Blue raspberry or berry blue gelatin: Essential for that vibrant blue—stir until every granular bit disappears for the best look and texture.
- Boiling and cold water: Keep both measured out ahead for faster prep and more distinct stripes.
- White chocolate: Chop it finely so it melts smoothly in the hot cream—trust me, chunks will ruin the creamy finish.
- Heavy cream: Don’t skimp—this gives the ganache that silky curtain over your cake.
- Whipped cream or topping: Spread gently; using homemade or store-bought is up to your mood (both work beautifully).
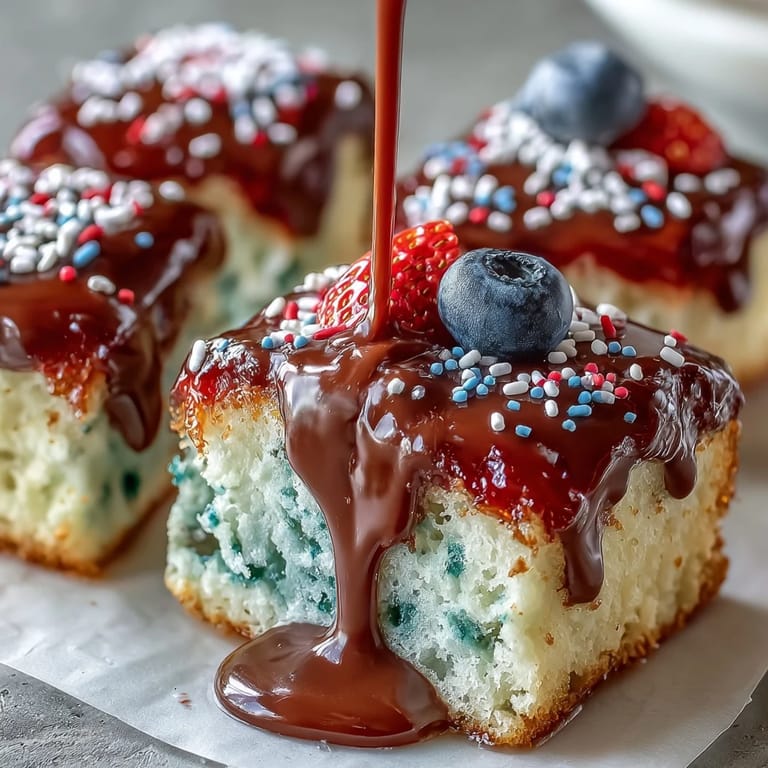
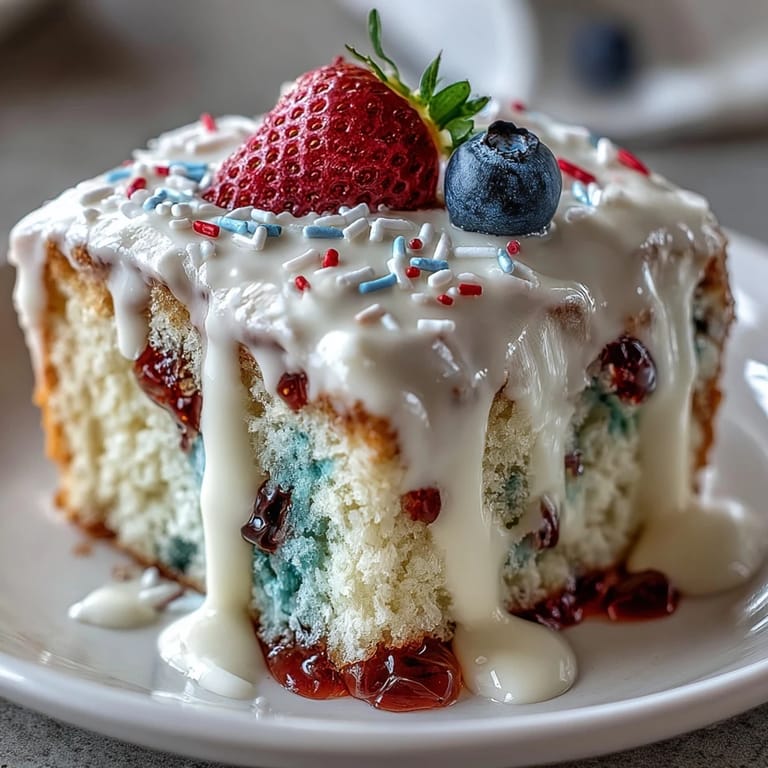
- Red, white, and blue sprinkles or berries: Purely for fun and color—sometimes I only use fresh blueberries and strawberries for a slightly grown-up twist.
Tired of Takeout? 🥡
Get 10 meals you can make faster than delivery arrives. Seriously.
One email. No spam. Unsubscribe anytime.
Instructions
- Bake the cake base:
- Preheat your oven and let your kitchen fill with the anticipation of cake. Mix, pour, and bake the batter until it's lightly golden and just springy—don’t wander far or you’ll miss the sweet aroma.
- Poke holes in the cake:
- Once cooled a bit, use the handle of a wooden spoon to gently make rows of holes—it feels oddly satisfying, like prepping a secret tunnel for the colors to hide in.
- Stir up the gelatin:
- In two bowls, dissolve each gelatin flavor in steaming hot water until no grains remain, then cool it down with cold water to keep the colors vibrant.
- Fill with red and blue:
- Slowly spoon both gelatin solutions into alternate holes, savoring how the liquid disappears—this is the magic moment for those bold surprise stripes.
- Chill to set:
- Slip the cake into the fridge for at least two hours; the waiting is tricky, but worth it for sharp color and flavor.
- Make your ganache:
- Pour heated cream over your finely chopped white chocolate and wait a minute—then stir patiently as it slowly transforms into a glossy, smooth pour.
- Top with ganache:
- Let the ganache cool until barely thickened, then pour or spread it gently over the cake, letting every bit flood into the ridges.
- Decorate and finish:
- Layer whipped cream across the top and scatter with sprinkles or berries—marvel for a second at how bright and festive it looks.
- Serve and enjoy:
- Return to the fridge until ready to cut, then serve up slices and wait for the smiles.
 Save
Save My favorite moment with this poke cake wasn’t the party itself, but the quiet night after when I found a lone slice in the fridge. Sitting at the kitchen counter with a fork and the glow of the fridge light, that leftover square tasted like summer wrapped in sweet, cool nostalgia.
How to Make it Your Own
The fun of this cake is how easily you can swap in your favorite flavors or decorations. Once, I tried raspberry and lime gelatins and got a surprisingly pretty watermelon-inspired look—no one complained.
Freezing and Storage Tips That Work
Chill is your friend with poke cakes, but I also learned that freezing changes the texture—best to wrap leftovers tightly and store for up to three days in the fridge. If you’re assembling ahead, wait on the whipped cream and garnishes until serving day so they stay fluffy and picture-perfect.
What Surprised Me the First Time I Made This
I didn’t expect how satisfying it was to pour those colors into the cake, or that letting the kids decorate with sprinkles made them feel personally invested. The cake felt less like a project and more like an edible art piece when we finished.
- Let your cake cool longer than you think before adding gelatin—it helps keep the colors sharp.
- Taste the gelatin mixtures beforehand—you can add an extra squeeze of lemon for brightness if you like.
- Don’t stress about making the stripes perfect; the charm is in each slice’s surprise.
 Save
Save May your next celebration be as colorful and sweet as this poke cake—save yourself a slice before everyone else grabs seconds.
Recipe FAQ
- → How long does the gelatin need to set before adding ganache?
Allow at least 2 hours in the refrigerator for the gelatin to firm up so it won’t bleed when the ganache is poured. Longer chilling yields cleaner stripes.
- → Can I use homemade cake instead of a mix?
Yes. A homemade white or vanilla sheet cake works great and deepens flavor. Ensure it’s fully cooled before poking holes so the gelatin sets properly.
- → How do I get vivid red and blue stripes?
Use concentrated gelatin mixes, reduce added cold water slightly, or add a few drops of gel food coloring to each dissolved gelatin to intensify the hues.
- → How do I prevent the ganache from melting the gelatin?
Let the ganache cool until just thickened but still pourable before pouring. Pour gently and work quickly so the chocolate sets without warming the gelatin layers.
- → Any tips for slicing neat pieces?
Chill the assembled cake until the ganache firms, then use a sharp knife warmed briefly under hot water and wiped dry between slices for clean edges.
- → What are alternative toppings?
Swaps include fresh berries, citrus zest, toasted white chocolate shavings, or a light dusting of powdered sugar. Whipped cream smooths the finish and adds creaminess.