 Save
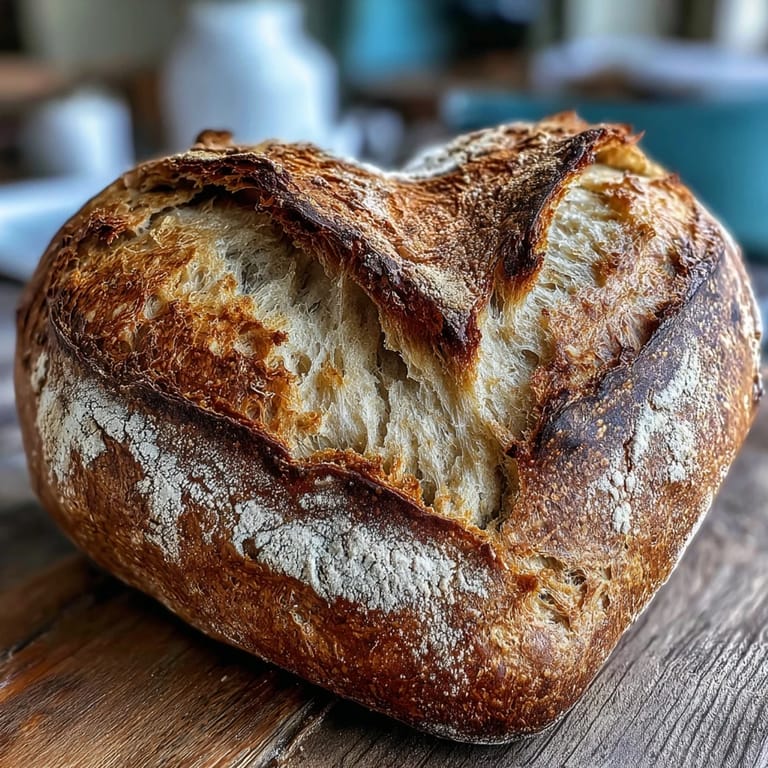
Save The first time I decided to bake something purely for the sake of beauty, my kitchen transformed into an unexpected art studio. My hands were covered in flour as I pressed and shaped the dough into a heart, wondering if I was being ridiculous or romantic—probably both. There's something about creating bread that looks almost too lovely to eat, especially when you're doing it for someone who matters. These sourdough hearts emerged from my oven golden and perfect, and suddenly the house smelled like love itself, if that makes any sense.
I'll never forget my partner's face when I pulled these hearts from the oven on our anniversary morning. The kitchen was still dark, and those golden loaves caught the early light in a way that made the whole effort feel worth it. We sat there with coffee and warm bread, and no words were necessary because the bread was saying everything.
Ingredients
- Active sourdough starter (100 g): This should be fed and bubbly, at its peak activity—use it within an hour of feeding if possible, as a sleepy starter will drag out your timeline and weaken your rise.
- Bread flour (350 g) and whole wheat flour (50 g): The bread flour gives you structure and that desirable open crumb, while whole wheat adds depth and nuttiness without overwhelming the delicate flavor.
- Room temperature water (280 g): Cold water slows fermentation, so room temperature keeps your timeline predictable and your dough responsive to your hands.
- Fine sea salt (8 g): Add it after the autolyse—mixing it in from the start can interfere with gluten development and make kneading harder.
- Rice flour for dusting: It doesn't hydrate like wheat flour, so your artistic patterns stay crisp and visible instead of blending into the crust.
- Optional edible dried flowers or seeds: Save these for after baking; heat damages their delicate colors and flavors, so sprinkle them on while the bread is still warm but not hot.
Tired of Takeout? 🥡
Get 10 meals you can make faster than delivery arrives. Seriously.
One email. No spam. Unsubscribe anytime.
Instructions
- Wake your starter and mix the dough:
- Combine your fed starter, both flours, and water in a large bowl, stirring until everything is shaggy and hydrated. Let this rest uncovered for 30 to 45 minutes—this autolyse period lets the flour fully absorb water and starts developing gluten without needing any kneading.
- Incorporate the salt:
- Sprinkle salt over the dough and mix it in thoroughly, then knead gently for a few minutes until it's fully incorporated. You'll feel the dough go from loose to cohesive as the salt activates the gluten.
- Build strength with stretch-and-folds:
- Over the next 2 hours, perform 3 to 4 sets of stretch-and-folds spaced 30 minutes apart, each time gently stretching one side of the dough up and folding it over itself. Between each set, cover the bowl with a damp towel—this is where most of your gluten development happens without aggressive kneading.
- First rise:
- After your final fold, shape the dough into a loose ball, place it in a lightly oiled bowl, cover it, and let it rise at room temperature for 4 to 6 hours until it's visibly doubled and jiggles slightly when the bowl moves. You're looking for volume, not a specific time—trust what you see, not the clock.
- Shape into hearts:
- Turn the dough onto a lightly floured surface and divide it in half. For each piece, gently flatten it into an oval, then pinch the base together to form a point—this creates the bottom V of the heart. Use your thumb to make a shallow indent down the center of the wider top end, creating that signature heart dip.
- Cold proof overnight:
- Place each heart into a floured proofing basket or a bowl lined with a well-floured towel, cover loosely with plastic, and refrigerate for 8 to 12 hours. The cold slows fermentation to a crawl, giving the gluten time to relax while developing deeper flavor.
- Preheat and prepare:
- About an hour before baking, place your Dutch oven or baking stone in a 240°C (465°F) oven and let it get seriously hot. This thermal mass is what gives you that gorgeous crust.
- Score with artistic flair:
- Remove the dough from the fridge and invert it onto parchment paper. Dust generously with rice flour, then use a sharp lame or razor blade to score heart patterns or simple lines—the flour catches the blade and shows off your designs beautifully.
- Bake with steam:
- Transfer the parchment and dough into the screaming hot Dutch oven, cover it, and bake for 20 minutes to trap steam. Then remove the lid and bake for another 15 minutes until the crust is deep golden and sounds hollow when you tap it.
- Cool completely:
- Let the hearts cool on a wire rack for at least 30 minutes before slicing—this lets the crumb set. If you cut too early, you'll get gummy bread; patience here pays off.
 Save
Save There was a moment when I was about to pull these from the oven, and my roommate wandered in asking what smelled so incredible. That's when I realized these hearts had done their job—they'd already brought someone joy just from existing, before anyone had even tasted them. That's the real magic of intentional baking.
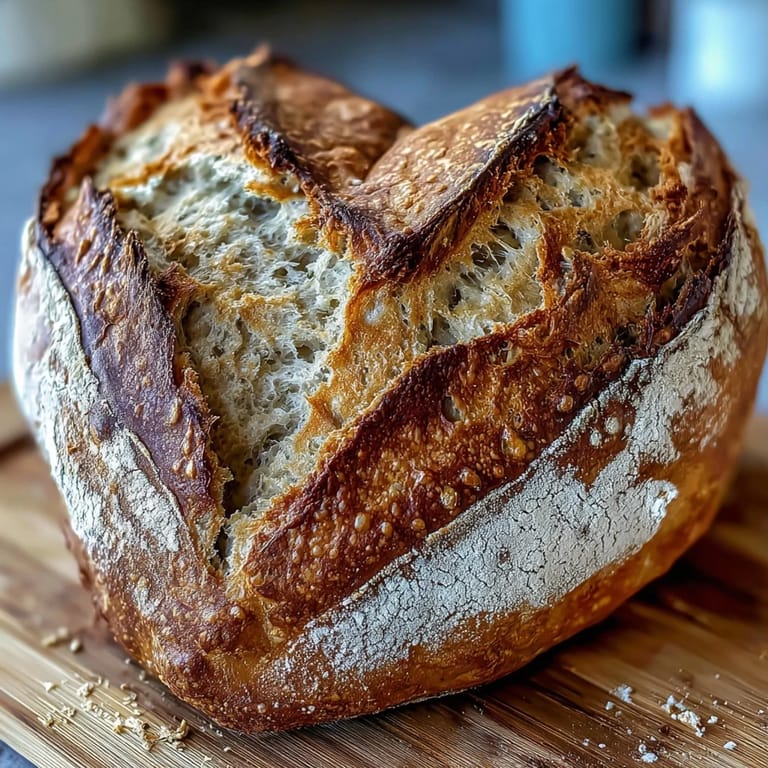
The Science Behind the Heart Shape
Shaping sourdough into anything other than a round or oval feels like defying gravity, but it's actually about understanding how dough wants to relax and expand. When you pinch that base to form the heart point, you're creating an anchor that the dough unconsciously pushes away from during proofing, which naturally emphasizes the two lobes at the top. The indent down the center isn't just decorative—it gives the dough a place to expand into, so your heart stays recognizable instead of becoming a blob with ambitions of roundness.
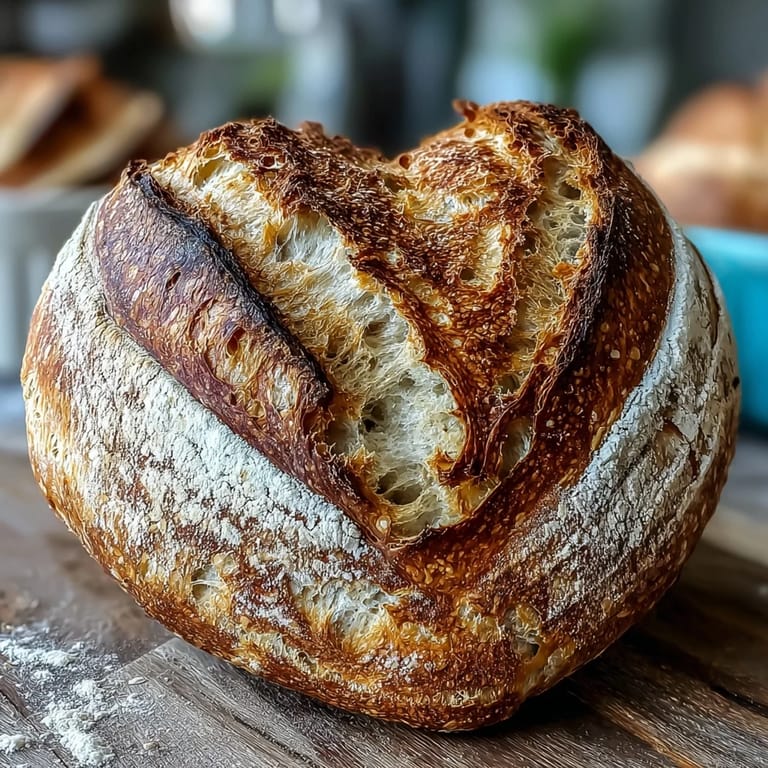
Why Rice Flour Changes Everything
I used to dust my sourdough with regular wheat flour before scoring, and the patterns would vanish into the crust as it baked. Then I switched to rice flour, and suddenly my artistic vision stayed visible on the finished loaf. Rice flour doesn't absorb water the way wheat does, so it sits on top of the dough like edible jewelry, creating contrast that photographs beautifully and makes your scored design unmissable.
Beyond Valentines Day
While these hearts are obvious choices for romance, they've become my go-to bread for any moment that feels worth marking—a friend's promotion, a goodbye dinner, even just a Tuesday when someone needed to be reminded they're loved. I've baked them in different seasons and noticed the cold kitchen of winter actually works in your favor for cold proofing, while summer sometimes speeds things up and requires you to refrigerate earlier.
- Try adding 1 tablespoon of beetroot powder to half the dough before shaping for a subtle pink swirl that looks almost accidental but deeply intentional.
- Serve warm with whipped honey butter or a tangy jam—the bread's mild sourness sings alongside something sweet.
- These keep for three days in an airtight container, but honestly, they rarely last that long once people realize how good they are.
 Save
Save Making bread with intention changes how you show up in your kitchen, and these hearts have taught me that the effort and creativity you put into food matters more than any recipe technique ever could. Every time you pull these from the oven, you're holding something you made with your hands, and that's something worth celebrating.
Recipe FAQ
- → How do I achieve the heart shape for the bread?
After dividing the dough, gently flatten each piece and pinch the base to form a pointed bottom, then indent the top center to create the heart shape.
- → What is the purpose of cold proofing overnight?
Cold proofing slows fermentation, enhancing flavor complexity and making the dough easier to score and handle before baking.
- → How do artistic flour patterns stay visible after baking?
Dusting the dough generously with rice flour before scoring prevents sticking and preserves the delicate flour designs during baking.
- → Can I add natural colors to the dough?
Yes, kneading beetroot powder into half the dough creates attractive pink swirls without affecting fermentation.
- → What baking equipment is recommended for best results?
Using a Dutch oven or baking stone preheated to high temperature ensures even heat distribution and a crisp crust.